2. MLflow Tracking Server
Install MLflow Tracking Server
MLflow is a popular open-source ML experiment management tool. In addition to experiment management, MLflow provides functionalities for ML model packaging, deployment management, and model storage.
In MLOps for ALL, we will be using MLflow for experiment management purposes.
o store the data managed by MLflow and provide a user interface, we will deploy the MLflow Tracking Server on the Kubernetes cluster.
Before Install MLflow Tracking Server
Install PostgreSQL DB
MLflow Tracking Server deploys a PostgreSQL DB for use as a Backend Store to a Kubernetes cluster.
First, create a namespace called mlflow-system.
kubectl create ns mlflow-system
If the following message is output, it means that it has been generated normally.
namespace/mlflow-system created
Create a Postgresql DB in the mlflow-system namespace.
kubectl -n mlflow-system apply -f https://raw.githubusercontent.com/mlops-for-all/helm-charts/b94b5fe4133f769c04b25068b98ccfa7a505aa60/mlflow/manifests/postgres.yaml
If performed normally, it will be outputted as follows.
service/postgresql-mlflow-service created
deployment.apps/postgresql-mlflow created
persistentvolumeclaim/postgresql-mlflow-pvc created
Wait until one postgresql related pod is running in the mlflow-system namespace.
kubectl get pod -n mlflow-system | grep postgresql
If it is output similar to the following, it has executed normally.
postgresql-mlflow-7b9bc8c79f-srkh7 1/1 Running 0 38s
Setup Minio
We will utilize the Minio that was installed in the previous Kubeflow installation step.
However, in order to separate it for kubeflow and mlflow purposes, we will create a mlflow-specific bucket.
First, port-forward the minio-service to access Minio and create the bucket.
kubectl port-forward svc/minio-service -n kubeflow 9000:9000
Open a web browser and connect to localhost:9000 to display the following screen.
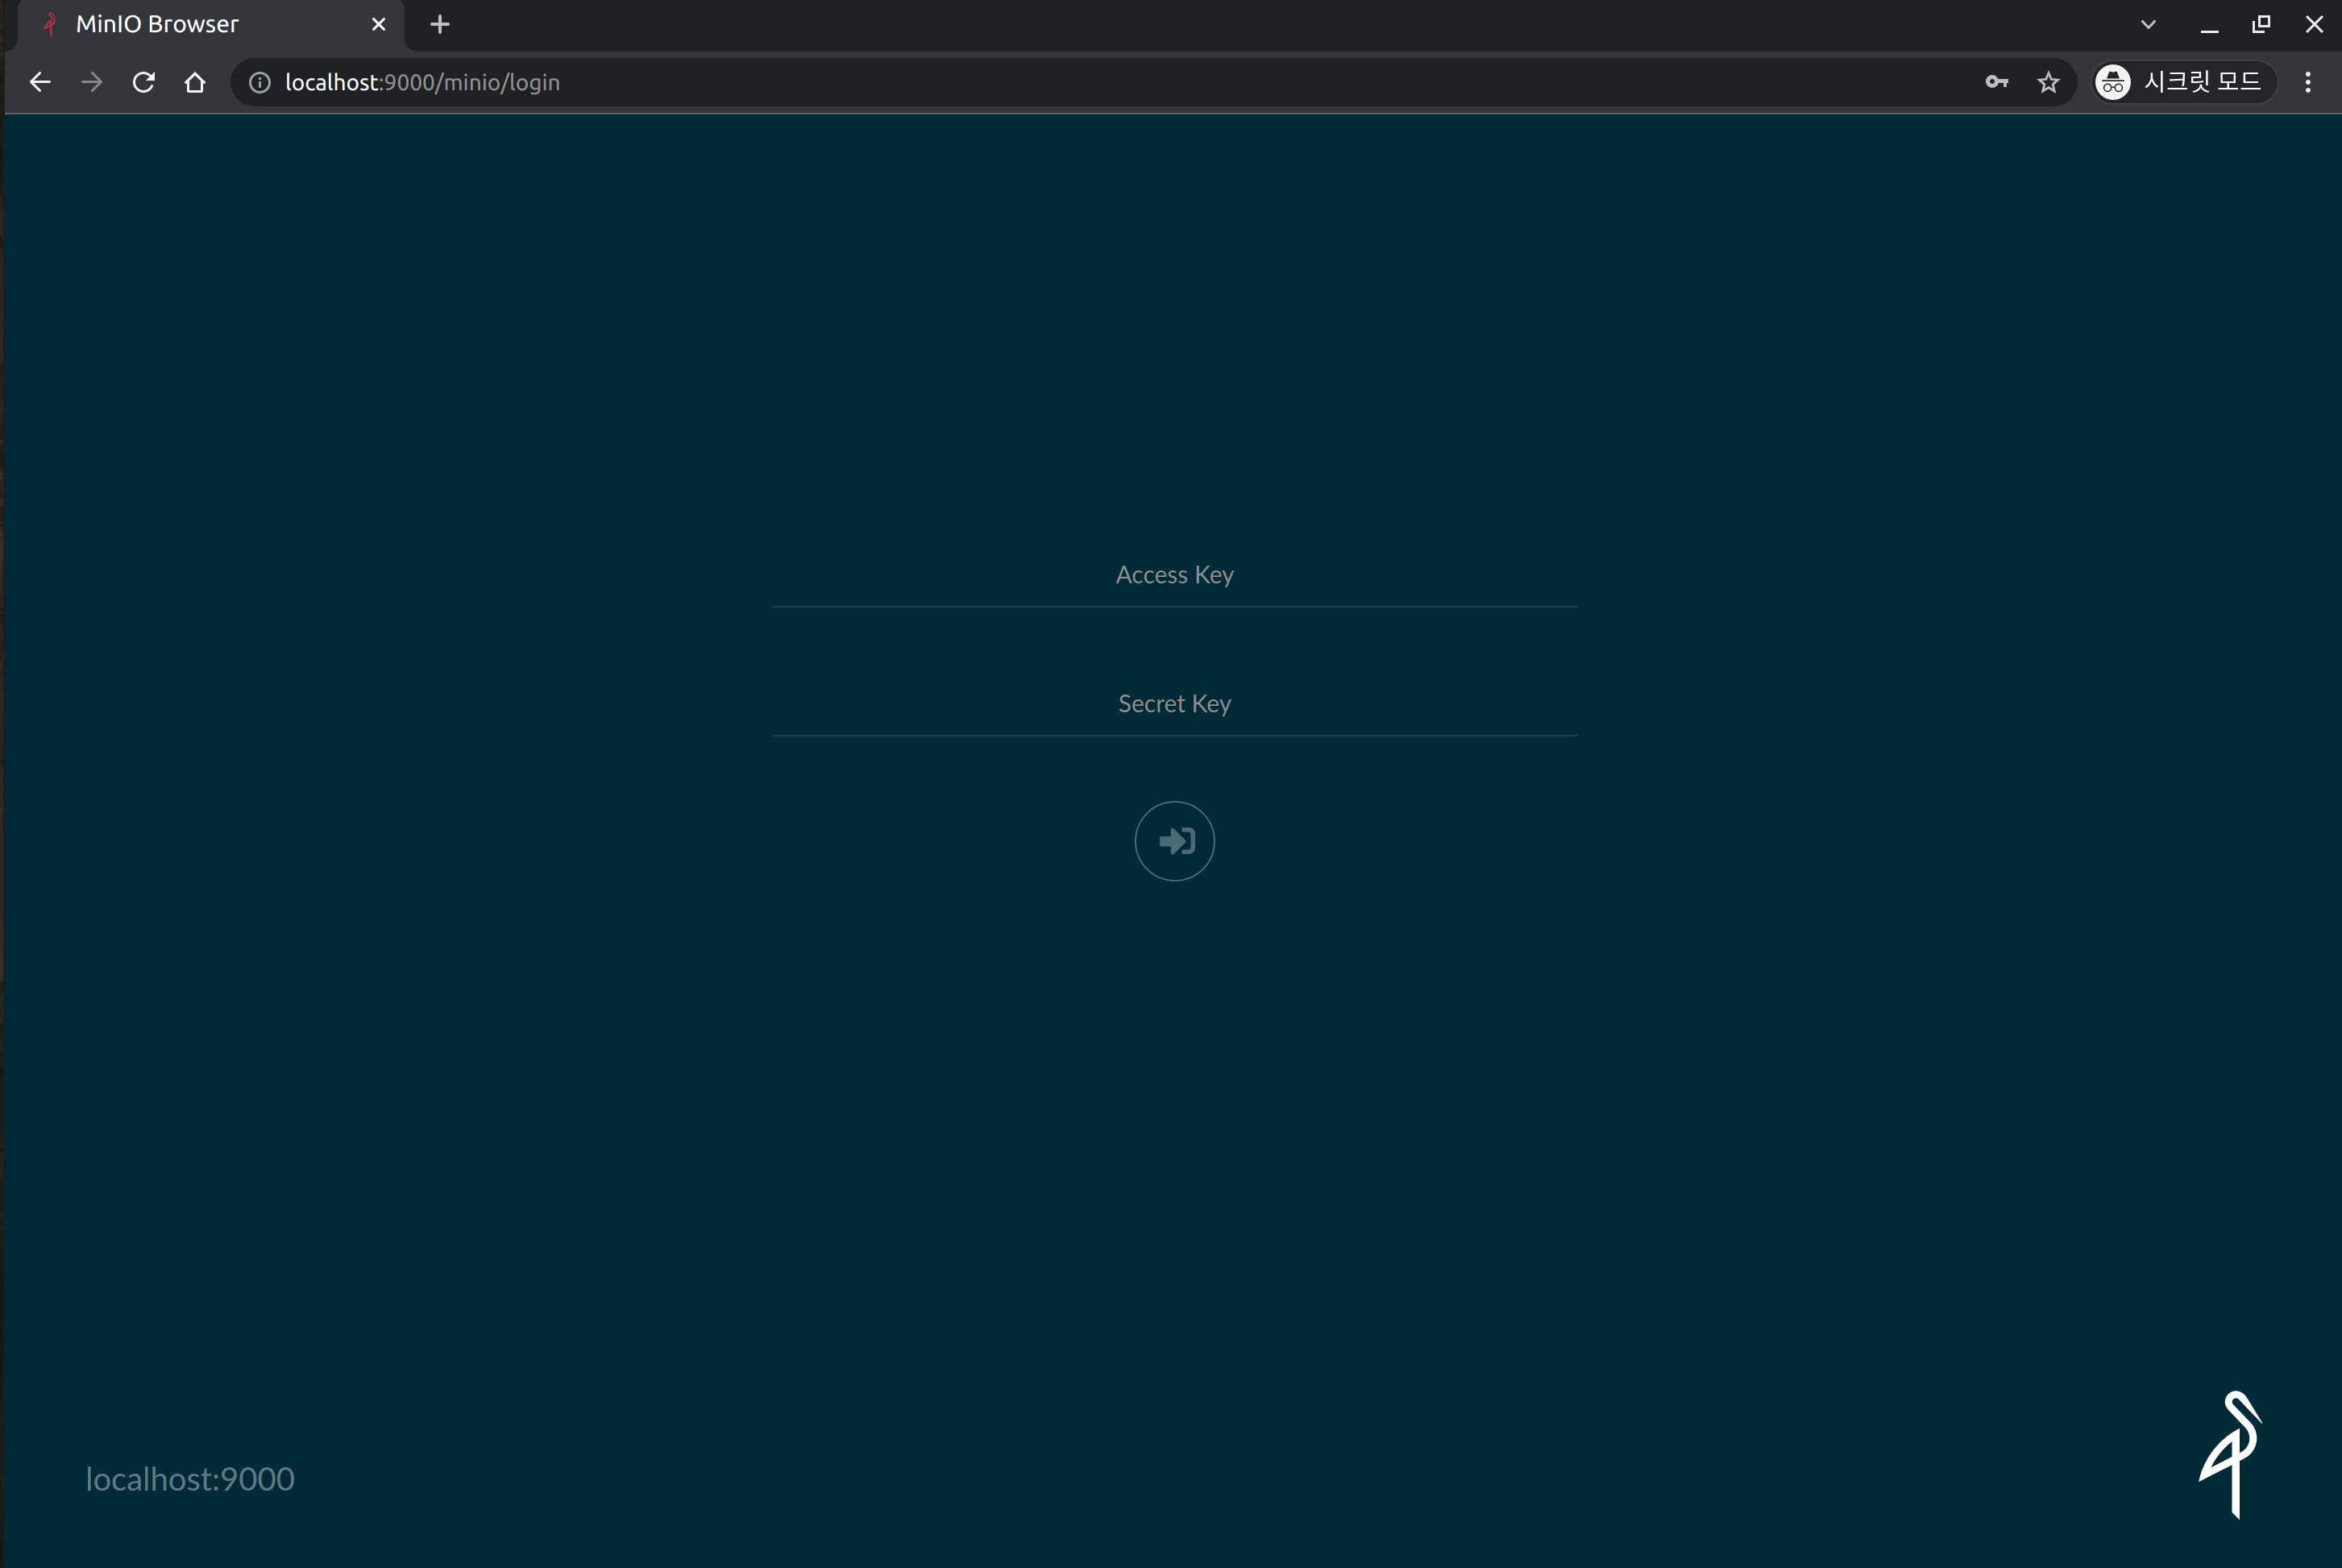
Enter the following credentials to log in:
- Username:
minio - Password:
minio123
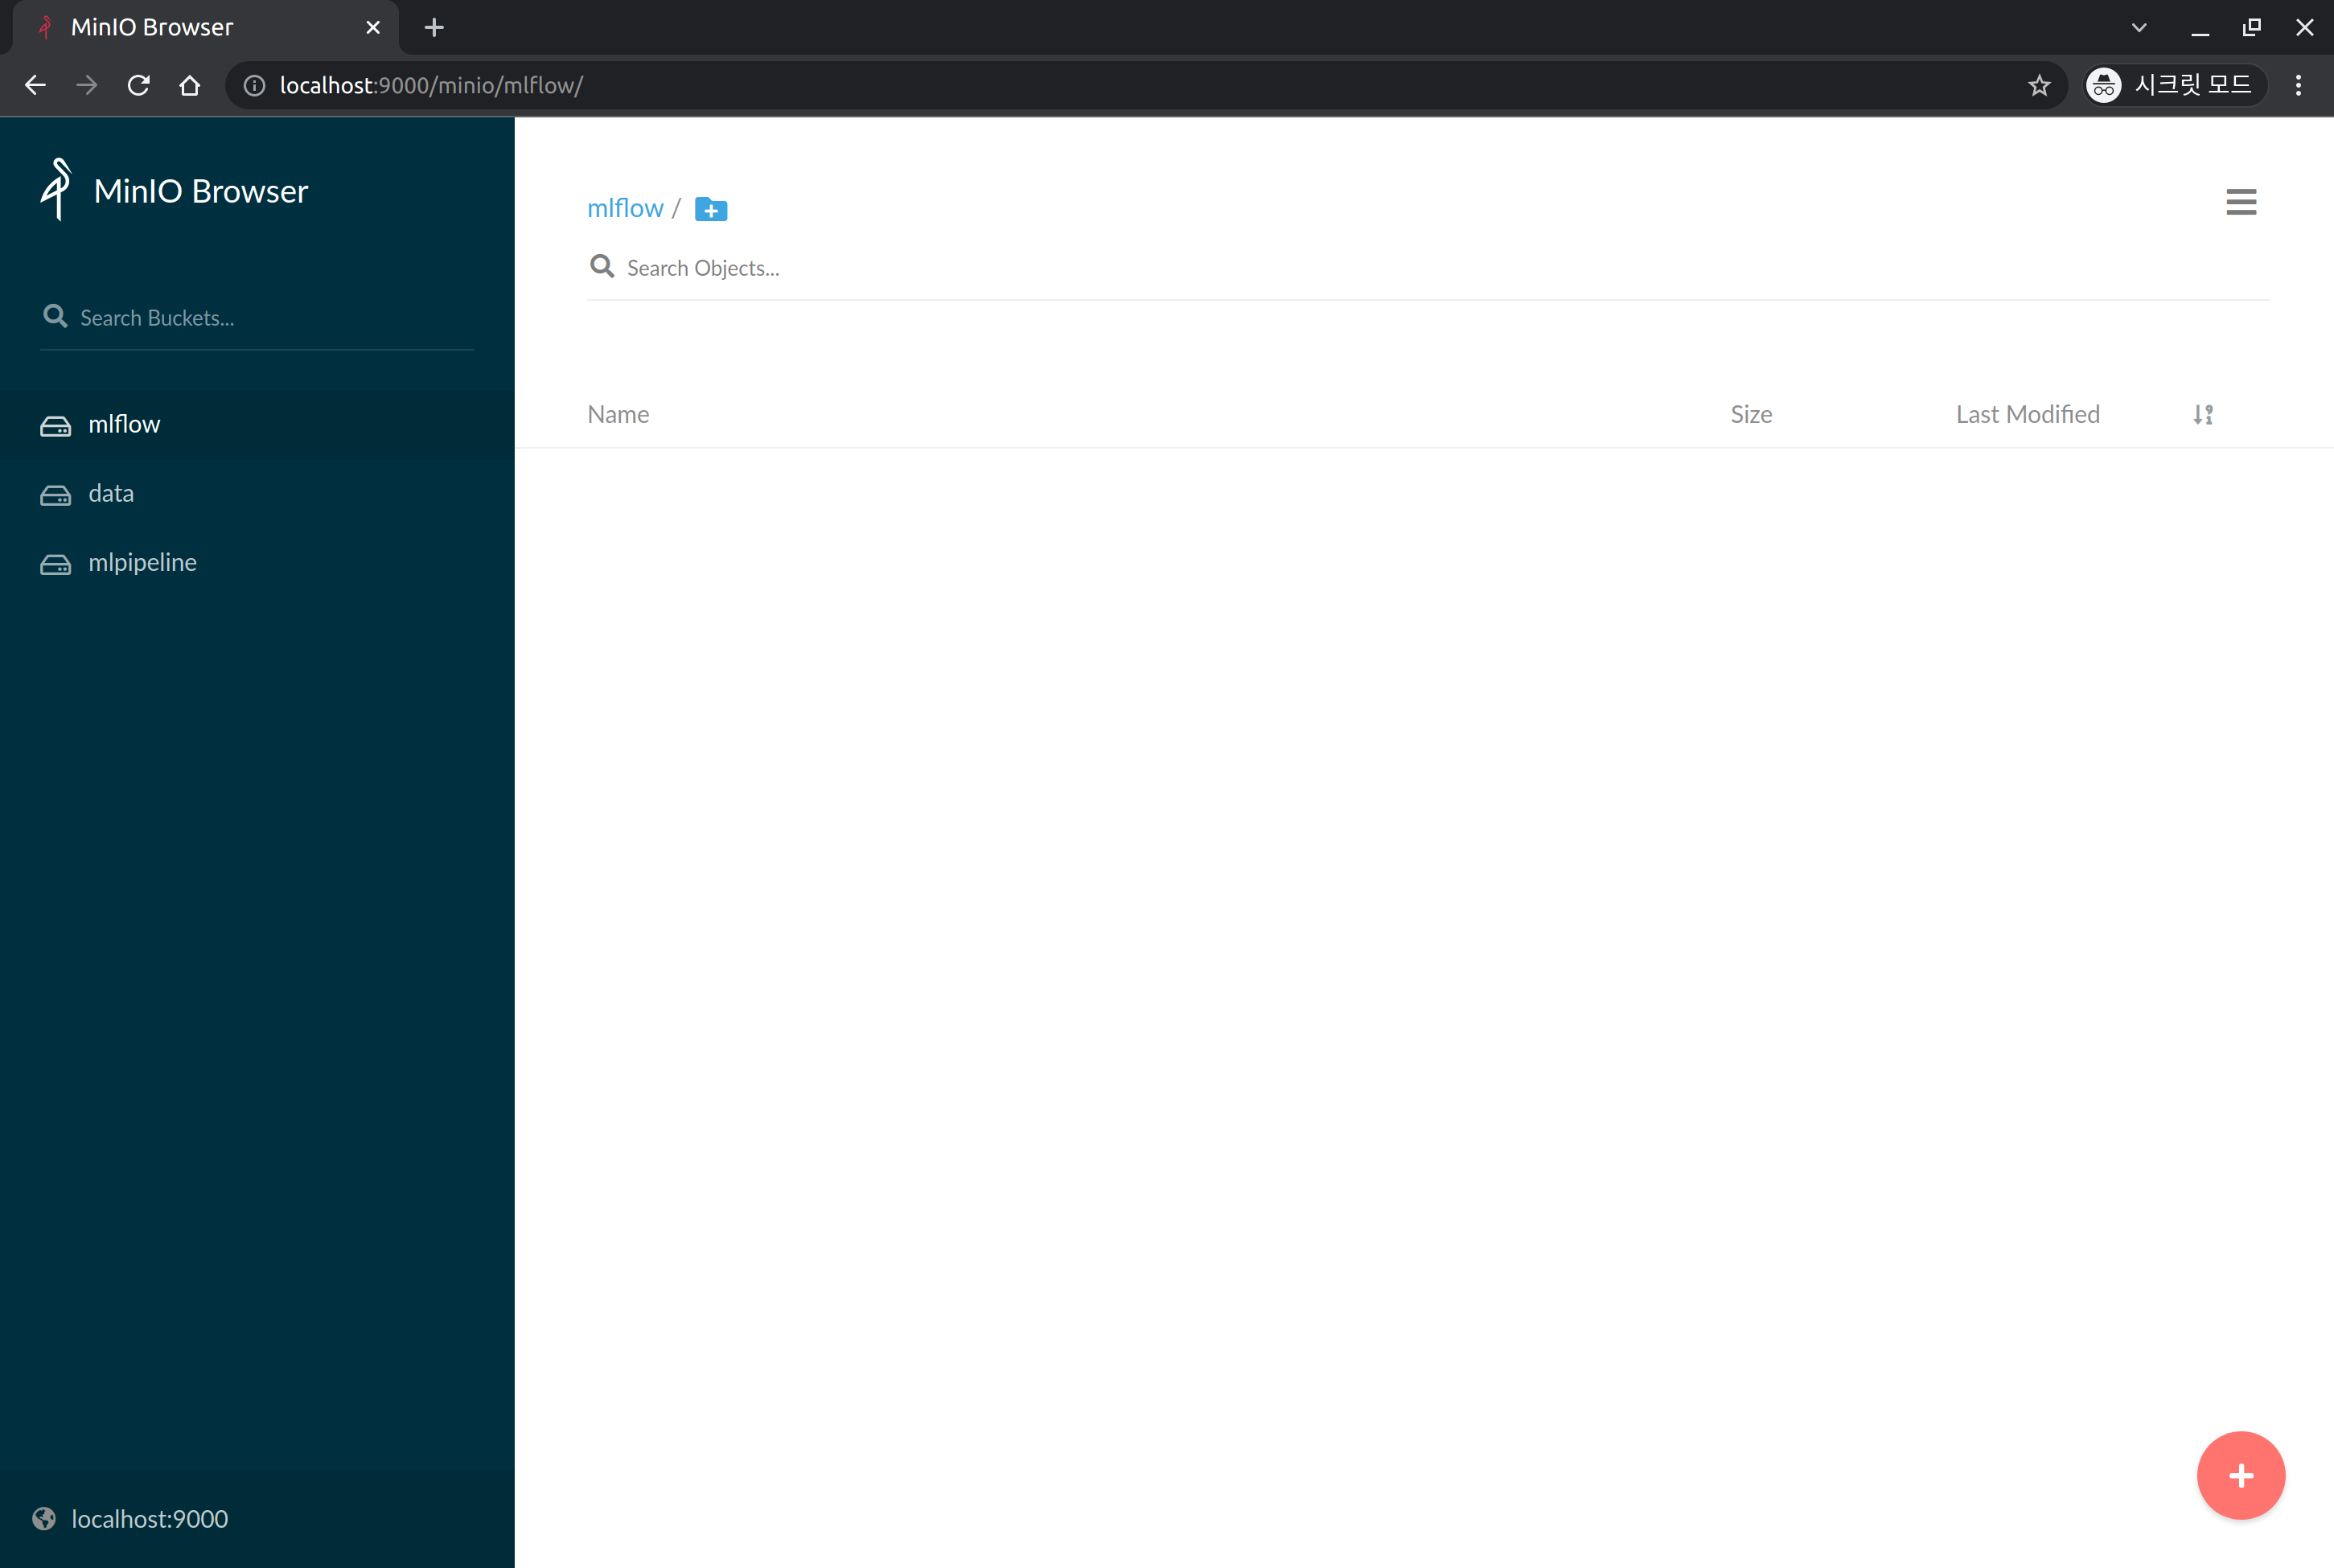
Click the + button on the right side bottom, then click Create Bucket.
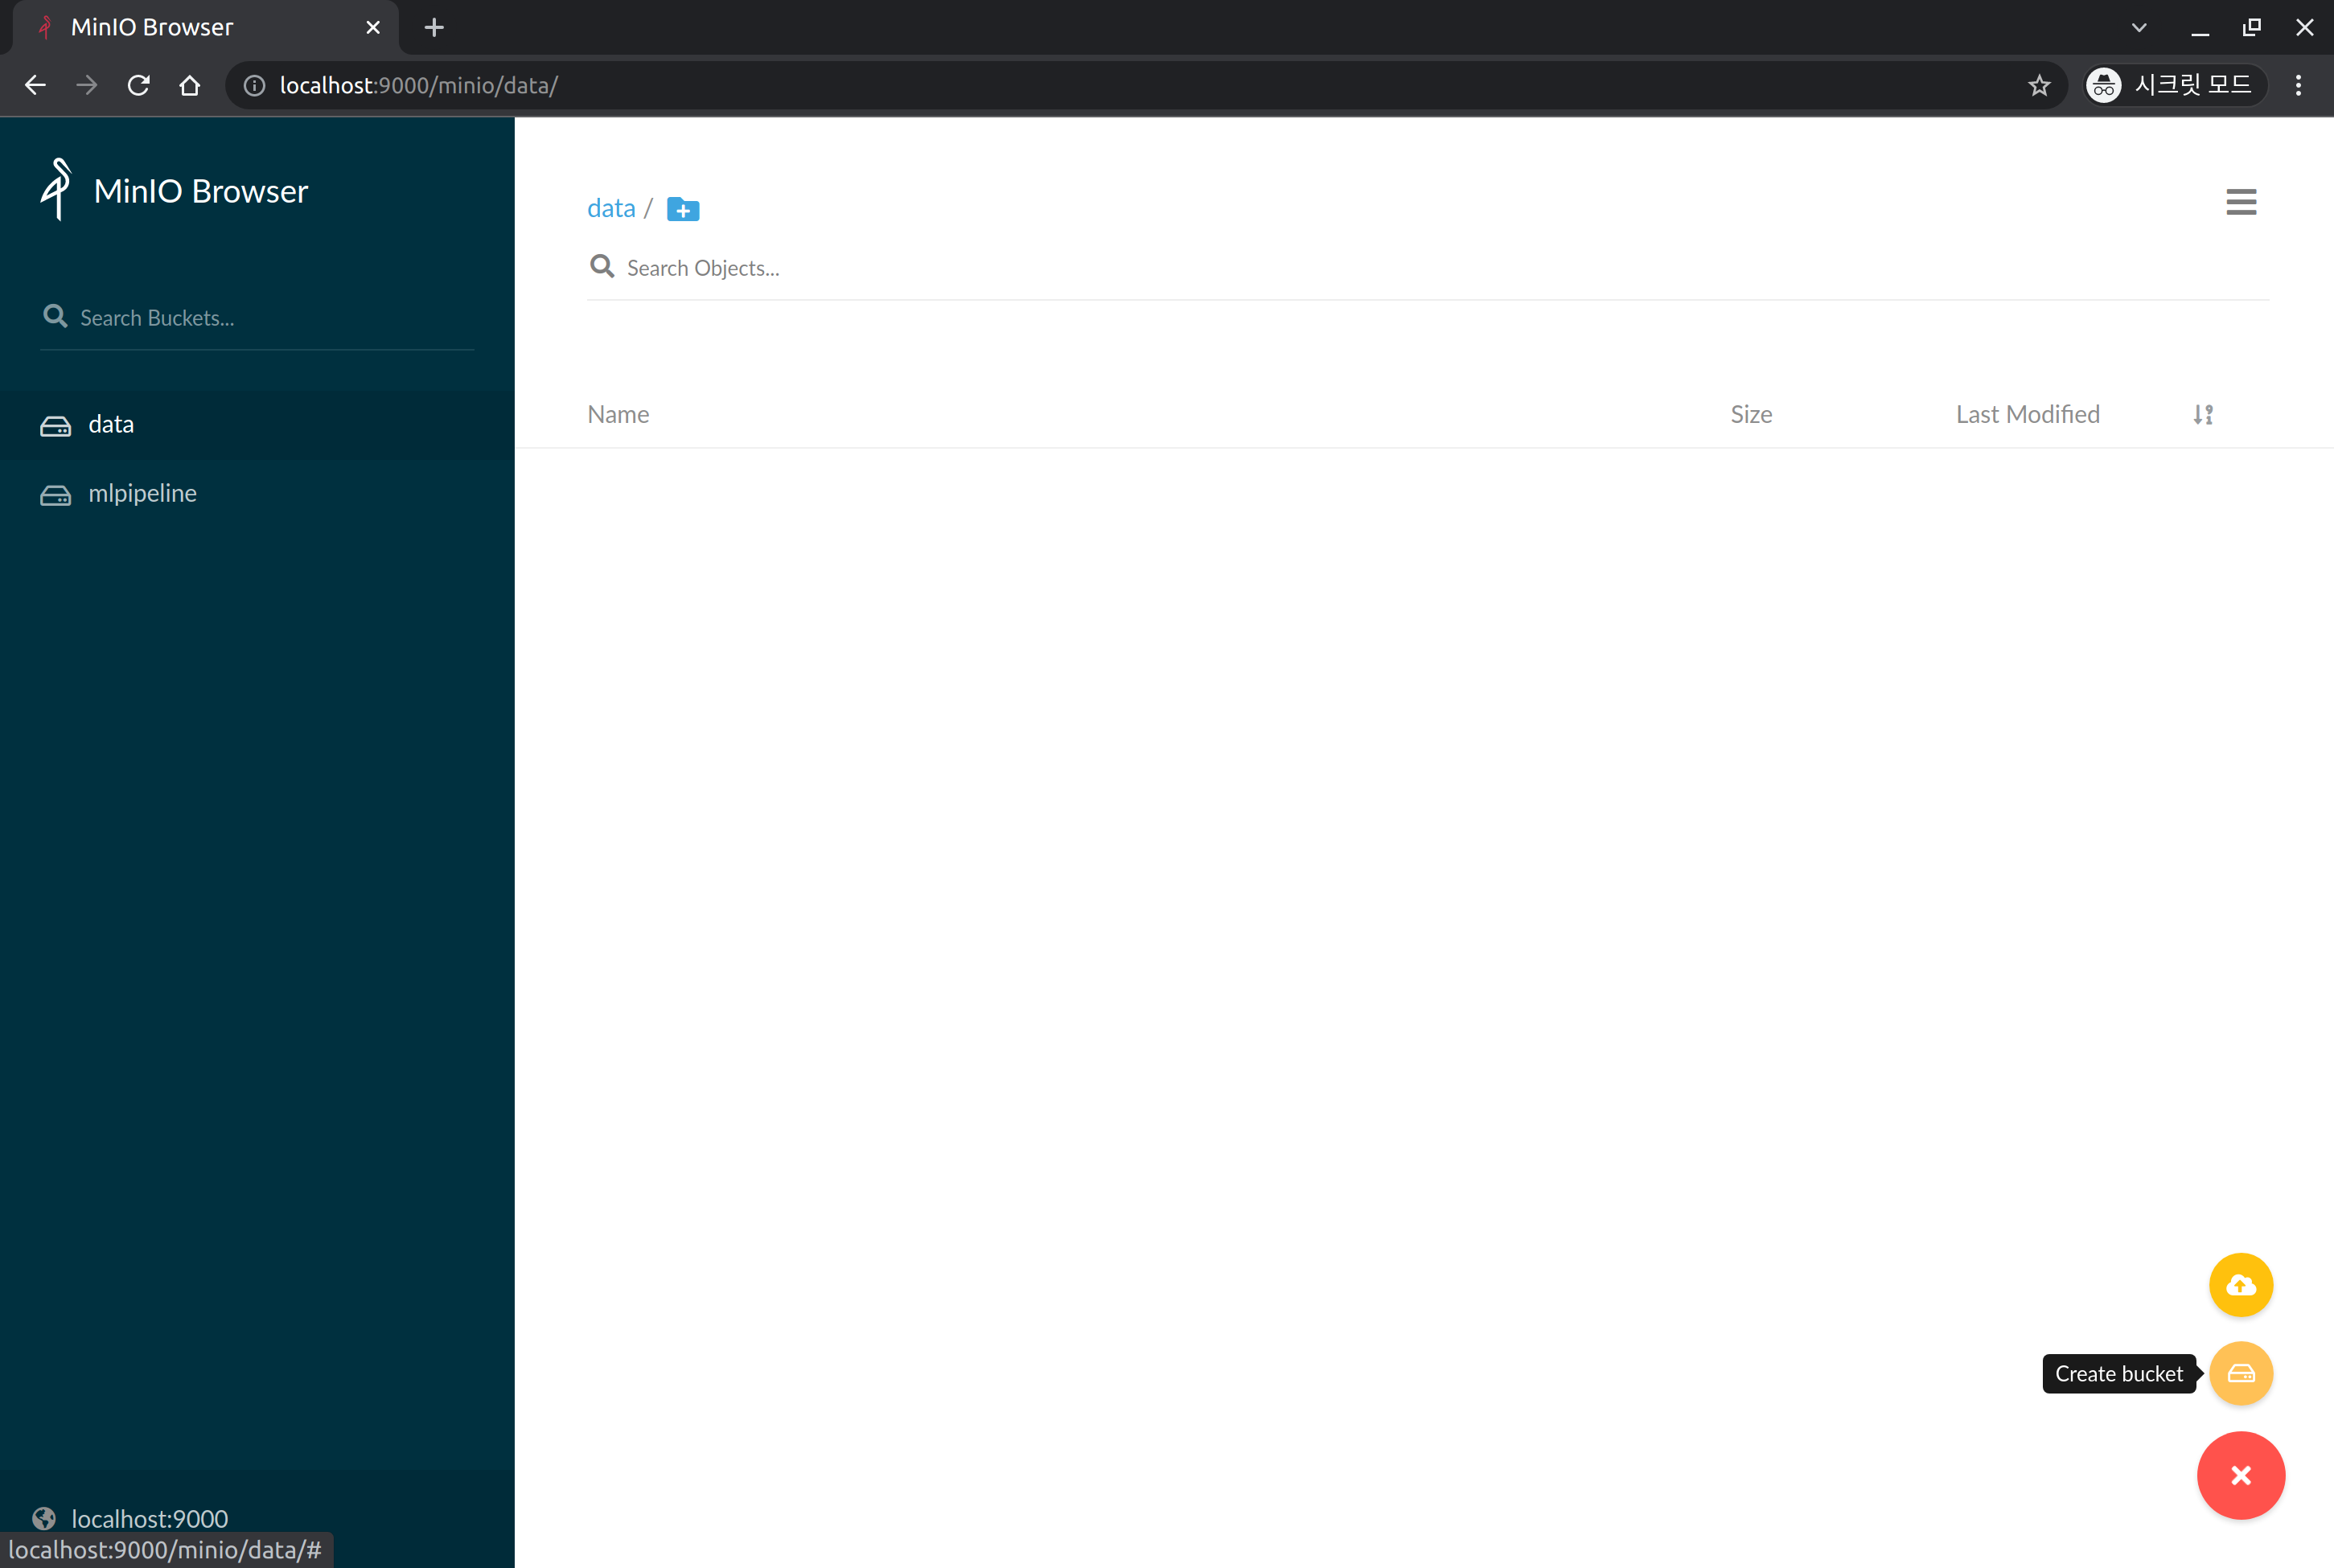
Enter mlflow in Bucket Name to create the bucket.
If successfully created, you will see a bucket named mlflow on the left.
Let's Install MLflow Tracking Server
Add Helm Repository
helm repo add mlops-for-all https://mlops-for-all.github.io/helm-charts
If the following message is displayed, it means it has been added successfully.
"mlops-for-all" has been added to your repositories
Update Helm Repository
helm repo update
If the following message is displayed, it means that the update has been successfully completed.
Hang tight while we grab the latest from your chart repositories...
...Successfully got an update from the "mlops-for-all" chart repository
Update Complete. ⎈Happy Helming!⎈
Helm Install
Install mlflow-server Helm Chart version 0.2.0.
helm install mlflow-server mlops-for-all/mlflow-server \
  --namespace mlflow-system \
  --version 0.2.0
- The above Helm chart installs MLflow with the connection information for its backend store and artifacts store set to the default minio created during the Kubeflow installation process and the postgresql information created from the PostgreSQL DB installation above.
- If you want to use a separate DB or object storage, please refer to the Helm Chart Repo and set the values separately during helm install.
The following message should be displayed:
NAME: mlflow-server
LAST DEPLOYED: Sat Dec 18 22:02:13 2021
NAMESPACE: mlflow-system
STATUS: deployed
REVISION: 1
TEST SUITE: None
Check to see if it was installed normally.
kubectl get pod -n mlflow-system | grep mlflow-server
Wait until one mlflow-server related pod is running in the mlflow-system namespace.
If it is output similar to the following, then it has been successfully executed.
mlflow-server-ffd66d858-6hm62 1/1 Running 0 74s
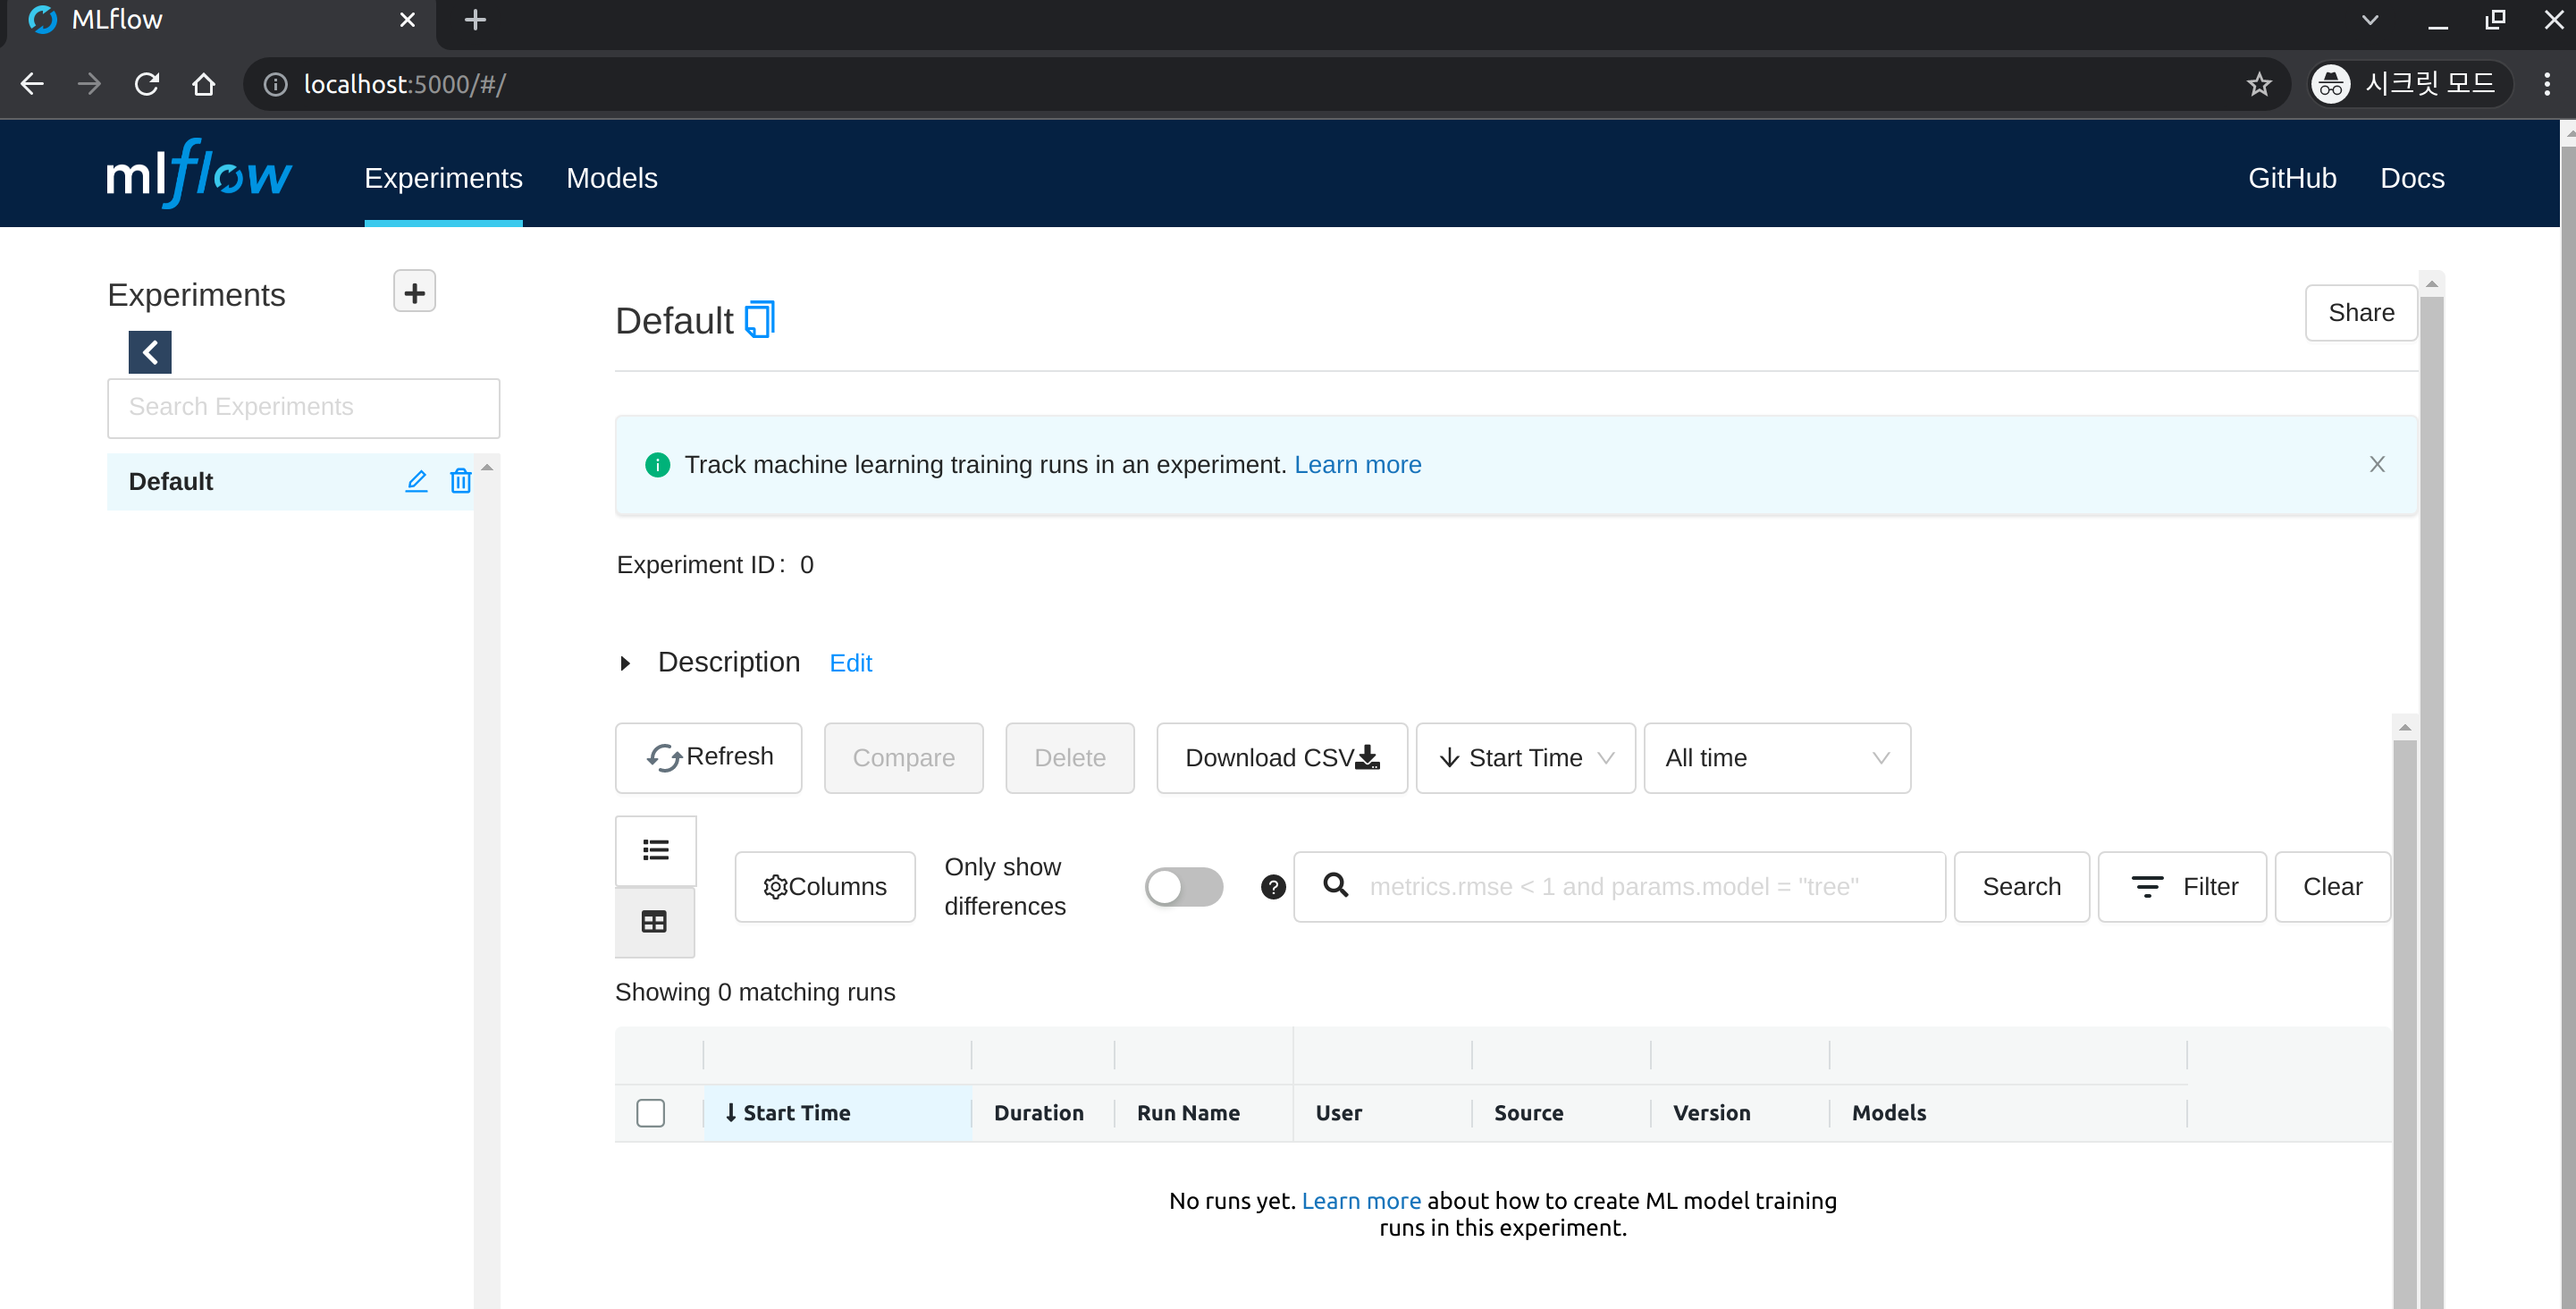
Check installation
Let's now check if we can successfully connect to the MLflow Server.
First, we will perform port forwarding in order to connect from the client node.
kubectl port-forward svc/mlflow-server-service -n mlflow-system 5000:5000
Open a web browser and connect to localhost:5000 and the following screen will be output.